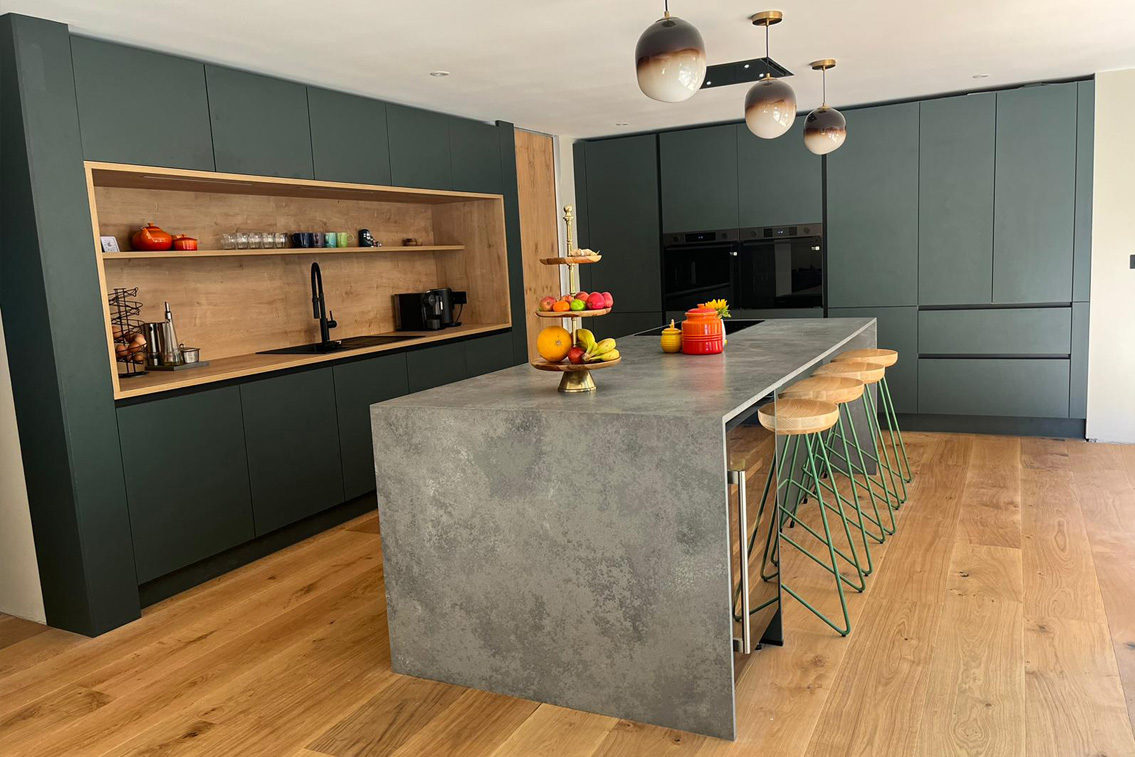



This covers final design checks in the week before installation, to avoid delays and expensive on-site changes. Walk the room with the printed plan, checking wall lengths, window positions and ceiling height against the approved design. Watch for common clashes: doors that won’t open fully, drawers hitting island corners, and blocked access to exits. Confirm worktop details – joins, upstands, overhangs – so your fitter and any stone fabricator work from a clear brief, and email the final plan across at least a week before start.
Much of this simply confirms what was agreed earlier, ideally during your free kitchen design consultation, so there shouldn’t be surprises. It’s worth reading How to Plan a Kitchen Layout That Actually Works for Your Life if you haven’t already, since early layout decisions shape what your fitter checks now.
Kitchen fitters aren’t usually responsible for structural changes, plastering, or new cables and pipes, so this needs to be done and dry before fitting day. First fix electrics covers sockets, new circuits and under-cabinet lighting; first fix plumbing covers the sink, dishwasher and any boiling-water tap. All gas work must go to a Gas Safe registered engineer. Plastering happens after first fix but before installation, with three to five days to dry so moisture isn’t trapped behind new units. This sequencing is part of our kitchen design process, agreed with your installer before delivery.
Missing or damaged items are one of the main reasons installations overrun. Cross-check the delivery note against the order a few days beforehand, and photograph any damage for the supplier. Confirm all integrated appliances are on site and match the exact models specified. Laminate worktops often arrive with the units, while stone and quartz from our German kitchen ranges usually need a templating visit afterwards, with a seven-to-fourteen-day turnaround. Store everything flat and dry, and confirm who’s responsible for disposing of packaging.
A clear, empty kitchen speeds up fitting and reduces the risk of accidental damage. Empty every cupboard and drawer, clear worktops, and remove freestanding furniture. Take down nearby pictures and shelving where vibration could be an issue, use floor protector on main routes to the front door, and restrict pets’ or children’s access to work routes.
Most installations leave you without a working sink and hob for five to ten working days, so a planned temporary kitchen makes life far easier – much of the detail is covered in our guide to living without a kitchen during a renovation. Good locations include the dining room or a corner of the living room, close to water, with a kettle, microwave and slow cooker. Keep essentials in labelled boxes, stock up on easy food, and use a spare fridge or cool box if the main one is disconnected. Decide in advance how many takeaway nights you’re happy with, and budget accordingly.
Clear logistics planning avoids disputes and lost time once trades arrive. Confirm the start date, working hours and which days the team will be on site. Arrange parking, including room for long vans, and flag any tight access in advance. Decide whether you’ll be home each day or provide a key code, and warn neighbours about a short period of extra noise.
“Kitchen fitter” can mean anything from a sole-trader carpenter to a full team including electricians and plumbers. Ask for a written breakdown of who’s handling carpentry, plastering, electrics and gas. Gas work must go to a Gas Safe registered engineer, and new circuits must be signed off by a registered electrician. If the fitter isn’t providing all trades, you’ll need to schedule your own so first fix and plastering happen in order.
Have a signed quote listing what’s included – labour, materials, waste removal, tiling. Agree the payment structure: deposits, staged payments tied to milestones, and a small amount retained until snagging is complete. Set aside a contingency, typically ten to fifteen per cent, and check your home insurance covers building work. Confirm contractors carry public liability insurance and keep guarantees safe – larger projects may need building control notification.
Even a straightforward kitchen fit is noisy and dusty. Dust sheets and zip-type door screens help contain it in open-plan spaces, and it’s worth covering sensitive electrical equipment nearby. Plan shower times around water shut-offs, and schedule the noisiest stages around anyone working from home or revising for exams where possible.
Run through this twenty-four to forty-eight hours before your fitter arrives: design confirmed; units on site; building work and first fix complete; plaster dry; room cleared; access agreed; arrival time set. Take “before” photos of the existing kitchen for your records – and from here, it’s a short step into what to expect during installation week itself. Good preparation means your fitter can focus on delivering a high-quality kitchen rather than solving avoidable problems, and many of these steps are also covered at one of our kitchen showrooms Essex.
A few extra questions about preparing for a kitchen fitter, beyond what’s covered above.
Good fitters often book up six to twelve weeks in advance, with peak times busier still. Secure a provisional slot once you’ve paid a deposit, then confirm dates once schedules are known.
Most people stay home during a standard fit, relying on a temporary kitchen and some takeaways. Moving out is more common with major building work like an extension, and families with young children might consider a short stay elsewhere during the dustiest phase.
DIY removal can save money and offers flexible timing, but fitter-led removal is faster, safer and coordinated with waste removal. If you do it yourself, water, gas and electrics must be correctly isolated first.
Check the order paperwork to confirm whether the item was due, then contact the supplier with photos. Ask the fitter which areas they can progress while waiting, and keep a record of communications.