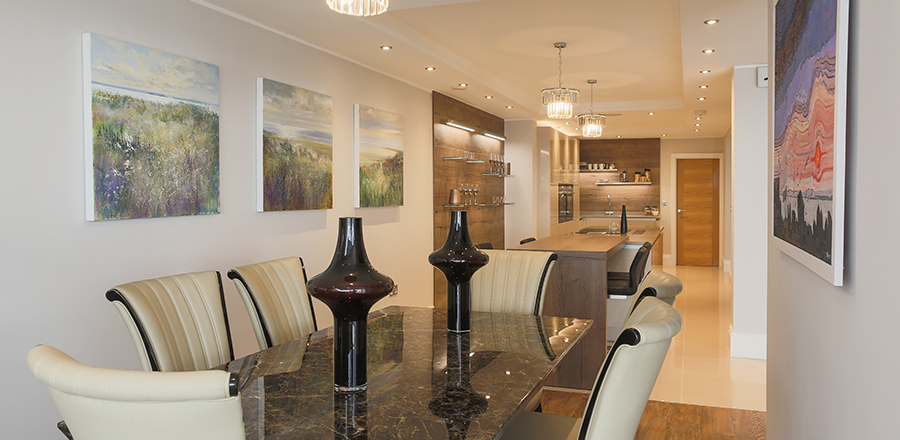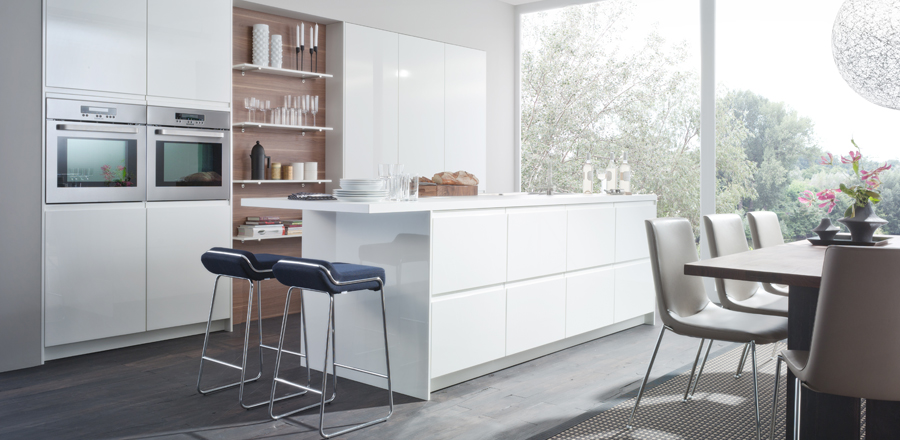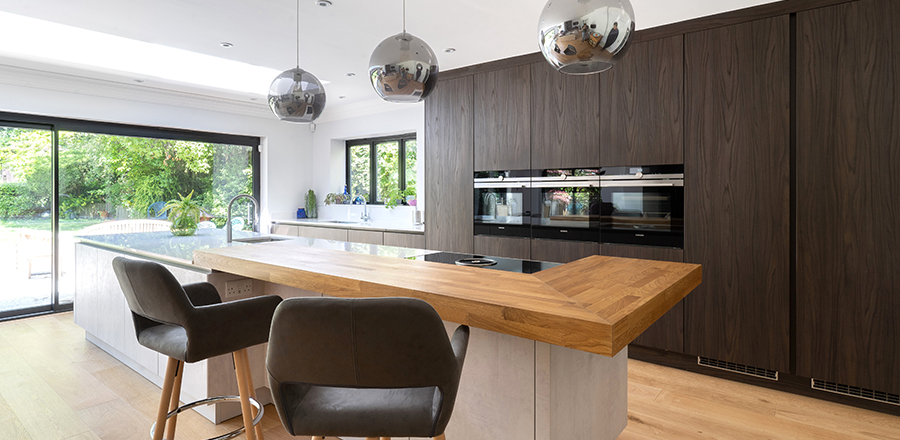



A good kitchen layout starts with how you actually live, not with cabinet colours or the latest Instagram trend. Before any bespoke kitchens design conversation begins, it pays to understand your daily routines, your room’s real dimensions, and the everyday habits a new layout needs to support. This article walks through exactly how to do that, step by step, so the result fits your life rather than just looking good in photographs.
Kitchen layout planning should start from real daily routines, weekday dinners, rushed breakfasts, weekend baking, rather than dream photos pulled from a magazine. The room that looks stunning in a showroom won’t feel right if it ignores how your household actually moves through a Tuesday evening.
The best bespoke kitchens are shaped around these everyday routines rather than a showroom display, ensuring the finished space supports the way you and your household actually live.
Start by writing down how many people usually cook at once, who else tends to be in the kitchen (children, pets, guests), and what consistently annoys you about your current layout: no landing space beside the fridge, a bin that’s too far from the prep zone, or a doorway that everyone seems to collide in.
It helps to make three simple lists: what must happen in this kitchen every single day (packed lunches, a coffee station, homework at the island), what happens only occasionally (big holiday cooking sessions, cocktail nights), and what never happens at all. That third list matters just as much as the first, since it stops you over-designing for scenarios that rarely occur. Note your tolerance for visible clutter and cleaning too, so later choices about open shelving, glossy finishes, or handleless fronts genuinely suit your habits rather than an idealised version of them.
Before dreaming up new layouts, document the room you actually have. Measure in inches or centimetres and sketch a simple floor plan showing wall lengths, ceiling height, and any changes in ceiling level.
Mark every window and door, including swing direction and exact position, along with radiators, bulkheads, and any structural columns or chimney breasts. Record where existing plumbing, gas lines, major electrical points, and extractor outlets sit; moving any of these is usually possible, but it affects both budget and feasibility, so it’s worth knowing from the outset.
Finally, take photos from every corner of the room and note where natural light is strongest at different times of day. That detail might seem minor, but it directly informs where later layout choices, an island, a breakfast bar, a prep zone, will feel best to actually use.
A genuinely functional kitchen combines the classic work triangle with modern zone planning and enough room for people to move freely. The work triangle connects the sink, fridge, and hob or range, and works best with a total distance under roughly 26 feet and each individual leg somewhere between 4 and 9 feet, adjusted to suit the size of the room.
Modern planning builds on that with clear zones: a preparation zone (the main stretch of counter space), a cooking zone (hob and oven), a cleaning zone (sink, dishwasher, bin), consumables storage (fridge and pantry), and non-consumables storage (everyday dishes, glasses, cookware).
Concrete clearances make the biggest practical difference. Aim for 42 inches of walkway for one main cook, 48 inches where two people regularly cook together, and at least 42 inches between a run of cabinets and a kitchen island. Landing zones matter just as much: plan for roughly 15–18 inches of counter space on at least one side of the fridge, each oven, and the hob, enough to safely set down groceries or a hot tray without juggling.
Room shape, existing walls, and how social you want the kitchen to be will naturally point you toward the right layout. Every bespoke kitchens project starts from one of four foundational layouts, one-wall, galley, L-shaped, and U-shaped, and the sections below break down when each works best.
Sketch at least two different layout options on your floor plan before settling on one, checking how each affects traffic flow and counter space. This matters even more in open-plan homes, where cooking, relaxing, and working all share the same room, a topic we explore in more detail in our guide, Open Plan Kitchen Design: What to Consider Before Knocking Down That Wall, which explains the structural and design considerations involved in creating an open-plan living space.
These layouts suit apartments, narrow terraced homes, and compact renovations where walls can’t easily move. For a one-wall kitchen, place the fridge, sink, and hob in that order (or a close variation), keeping as much uninterrupted counter space between sink and hob as possible. Full-height pantry cabinets at one or both ends help compensate for having fewer lower cabinets and keep frequently used items within easy reach.
A galley kitchen uses two parallel runs, one focused on cooking and prep, the other on cleaning and storage, with at least 42 inches between them. Keep the work triangle within the galley itself rather than stretching it across a doorway, and avoid placing tall units directly opposite each other in very narrow rooms, which can create an uncomfortable tunnel effect.
These layouts suit medium to larger rooms and can work with or without a kitchen island depending on the available footprint. In an L-shaped kitchen, place the sink on one leg and the hob on the other, letting the corner become a generous prep zone, with everyday dishes stored close to the dishwasher. L-shapes work particularly well in open-plan spaces, where one wall is left open to the living or dining area for a social but still functional kitchen.
In a U-shaped kitchen, keep at least 42 inches between opposing runs and avoid tall cabinets on all three sides, which can make the room feel boxed in. Use the closed end of the U for tall units, fridge, oven tower, pantry, and the side arms for continuous counter space, prep areas, and the main cleaning zone.
Islands are popular, but they only work well if there’s enough space for circulation and landing zones all the way around. As a clear minimum, aim for at least 42 inches between the island and surrounding cabinets, rising to around 48 inches if you expect two cooks working at once or stools tucked behind the island.
Think about the role the island needs to play: a prep island with generous counter space and drawers for knives, boards, and mixing bowls; a social island with seating and storage for everyday dishes; or a hybrid with a sink or hob carefully positioned within it. In tighter spaces, a peninsula, with one end attached to a wall, can provide useful extra counter space and storage while often improving flow more than a freestanding island would. If you’re planning seating, allow roughly 12 inches of overhang for stools, and make sure any island hob has adequate extraction and safety clearance around it.
Once you’ve decided on the layout, it’s worth considering How to Choose the Right Kitchen Worktop for Your Lifestyle. The right worktop material should complement the way you cook, entertain and use your island or peninsula every day.
Storage location matters more than sheer quantity for a kitchen that feels easy to use every day. Start by auditing what’s currently in your kitchen, everyday dishes, cookware, food, small appliances, cleaning supplies, and deciding what genuinely needs to live in the kitchen versus nearby storage elsewhere in the house.
Prioritise deep drawers over standard base cabinets for pots, pans, mixing bowls, and plastic containers, so nothing disappears at the back of a dark cupboard. Place everyday dishes, glasses, and cutlery immediately next to or above the dishwasher to minimise steps when unloading. A few specific ideas consistently earn their place: a pull-out bin near the sink and prep zone, a tall pantry with pull-out shelves for dry goods, vertical dividers for baking trays, and an appliance garage that hides toasters and coffee machines while keeping them plugged in and ready.
These tailored storage solutions are one of the defining features of bespoke kitchens, helping every cabinet, drawer and shelf work efficiently for the people using the space.
Where you put everyday items affects how many steps each task takes, and a genuinely good layout starts to feel almost automatic. Keep the most frequently used items, mugs, plates, cereal bowls, between hip and shoulder height, near the dishwasher and close to wherever people usually eat breakfast.
Cooking oils, spices, and utensils belong in narrow pull-outs or drawers directly beside the hob, so cooking never means crossing the room mid-recipe. Bins and recycling should sit at the edge of the main prep zone, within a step or two of both the sink and the hob. Group baking tools, mixers, and measuring cups together near one dedicated stretch of counter, so occasional baking sessions don’t disrupt everyday cooking flow.
Appliance size and placement dictate how much uninterrupted counter space you end up with and how comfortable your daily workflow feels, so choose your key appliances, range width, fridge style, dishwasher size, any wall ovens or microwave, before finalising the cabinet drawings.
The sink, dishwasher, and bin should usually form a tight, logical cleaning zone, ideally along one run or in an L, so dirty dishes never have to cross a walkway. Aim for at least 36–48 inches of generous, unbroken counter space between sink and hob, this is your main prep area and arguably the single most important stretch of worktop in the room. The material you choose for that worktop matters too, for durability as much as looks, which we cover fully in our guide, How to Choose the Right Kitchen Worktop for Your Lifestyle. Tall appliances like the fridge and any full-height oven are best grouped to one side or at the end of a run, rather than scattered through the middle, where they’d otherwise interrupt your main worktops with constant vertical breaks.
Doors and handles take up space when opened, and that has to be considered on the floor plan, not just the closed appliance dimensions. Leave at least 15–18 inches of counter space on the handle side of the fridge for unloading groceries, and the same on one side of each oven or microwave for resting hot trays.
Dishwashers work best near the end of a run where possible, so the open door doesn’t block a walkway or trap someone in a corner. Check that when the oven, fridge, and dishwasher doors are all open at once, there’s still a safe path through the kitchen without anyone needing to step over a door. In a galley kitchen especially, a tall fridge door needs enough opposite clearance to swing fully open without catching on handles or protruding hardware across the room.
Mocking up a layout on site catches problems that simply aren’t obvious on a drawing, and it’s one of the cheapest steps in the entire project relative to the money it can save. Use painter’s tape on the floor to mark out cabinet runs, the island, and appliance footprints at their actual sizes.
Cardboard boxes or spare furniture can simulate counter depth and island mass, helping you feel how narrow or generous the aisles really are before committing to anything. Then act out a normal day: unpacking groceries, setting up breakfast, cooking a typical dinner, loading and unloading the dishwasher. Note anything that feels tight, awkward, or like too many steps, then adjust cabinet runs, appliance positions, or island size before placing any orders.
A good layout works for the next 10–15 years, not just the first year after a renovation. Think about likely changes ahead of time: children growing up, working from home more often, evolving mobility needs, or simply entertaining more, and allow some adaptable space for those shifts.
Leave some flexible storage, adjustable shelves, a spare tall cabinet, or part of a pantry, that can evolve from baby bottles to lunchboxes to coffee gadgets over the years. Choose a layout that allows appliances to be swapped later, a standard dishwasher slot, enough space for a wider fridge down the line, without rebuilding the whole kitchen around it. A well-considered bespoke kitchens design should flex with your life rather than locking you into today’s habits. It’s also worth planning a small drop zone near the kitchen entrance for keys, post, school bags, and tech charging, so that clutter never has the chance to take over precious counter space.
Most households are comfortable with at least 8–10 feet of continuous counter space spread across the room, but the critical part is one main prep zone of around 36–48 inches between sink and hob. Smaller stretches near the fridge and oven act as landing zones for groceries and hot dishes, even at just 15–24 inches wide. In a very small kitchen, it’s usually better to prioritise one clear, generous prep area over several short, interrupted segments of countertop.
An island only works well if the clearances around it stay at least 36–42 inches; any tighter and it tends to make the kitchen feel cramped and hard to use. In many compact kitchens, a peninsula or a movable cart provides extra counter space and storage without blocking circulation. Tape out the island’s footprint on the floor and practice opening appliance doors around it before committing, to make sure there’s still comfortable room to move.
Design two partial work triangles, or distinct zones, so each cook has their own prep area, some counter space, and access to a water source. Wider main aisles, around 48 inches, help considerably, as does avoiding placing the fridge directly behind the hob or sink, which tends to create constant collisions. A secondary prep sink in an island or on a shorter run can dramatically reduce congestion for households that cook together often.
Deep drawers are usually better for lower storage since they pull out fully, letting you see and reach everything without kneeling or digging at the back. Reserve traditional door cabinets for tall or rarely used items, or for upper cabinets where shelves can hold glassware and lighter items. If budget allows, invest in quality drawer runners and soft-close mechanisms, since these are touched and used many times every single day.
Many homeowners can plan a solid layout themselves using accurate measurements, online planning tools, and the basic clearance and zone rules covered above. It’s worth considering professional help if the project involves moving structural walls, changing plumbing stacks, or fitting a complex open-plan space with multiple functions. At the very least, a design review or consultation is a sensible way to sanity-check measurements, appliance placement, and traffic flow before ordering cabinets or starting building work.
A great kitchen layout is the foundation everything else gets built on, before a single door style or worktop colour is chosen. If you’d like a second pair of eyes on your measurements, zones, or floor plan, our design team is happy to help you turn these ideas into a layout that genuinely fits your life. Get in touch with Studio K Kitchens to book a design consultation and start planning your own bespoke kitchen today.